Acquire, aggregate and analyze test reports
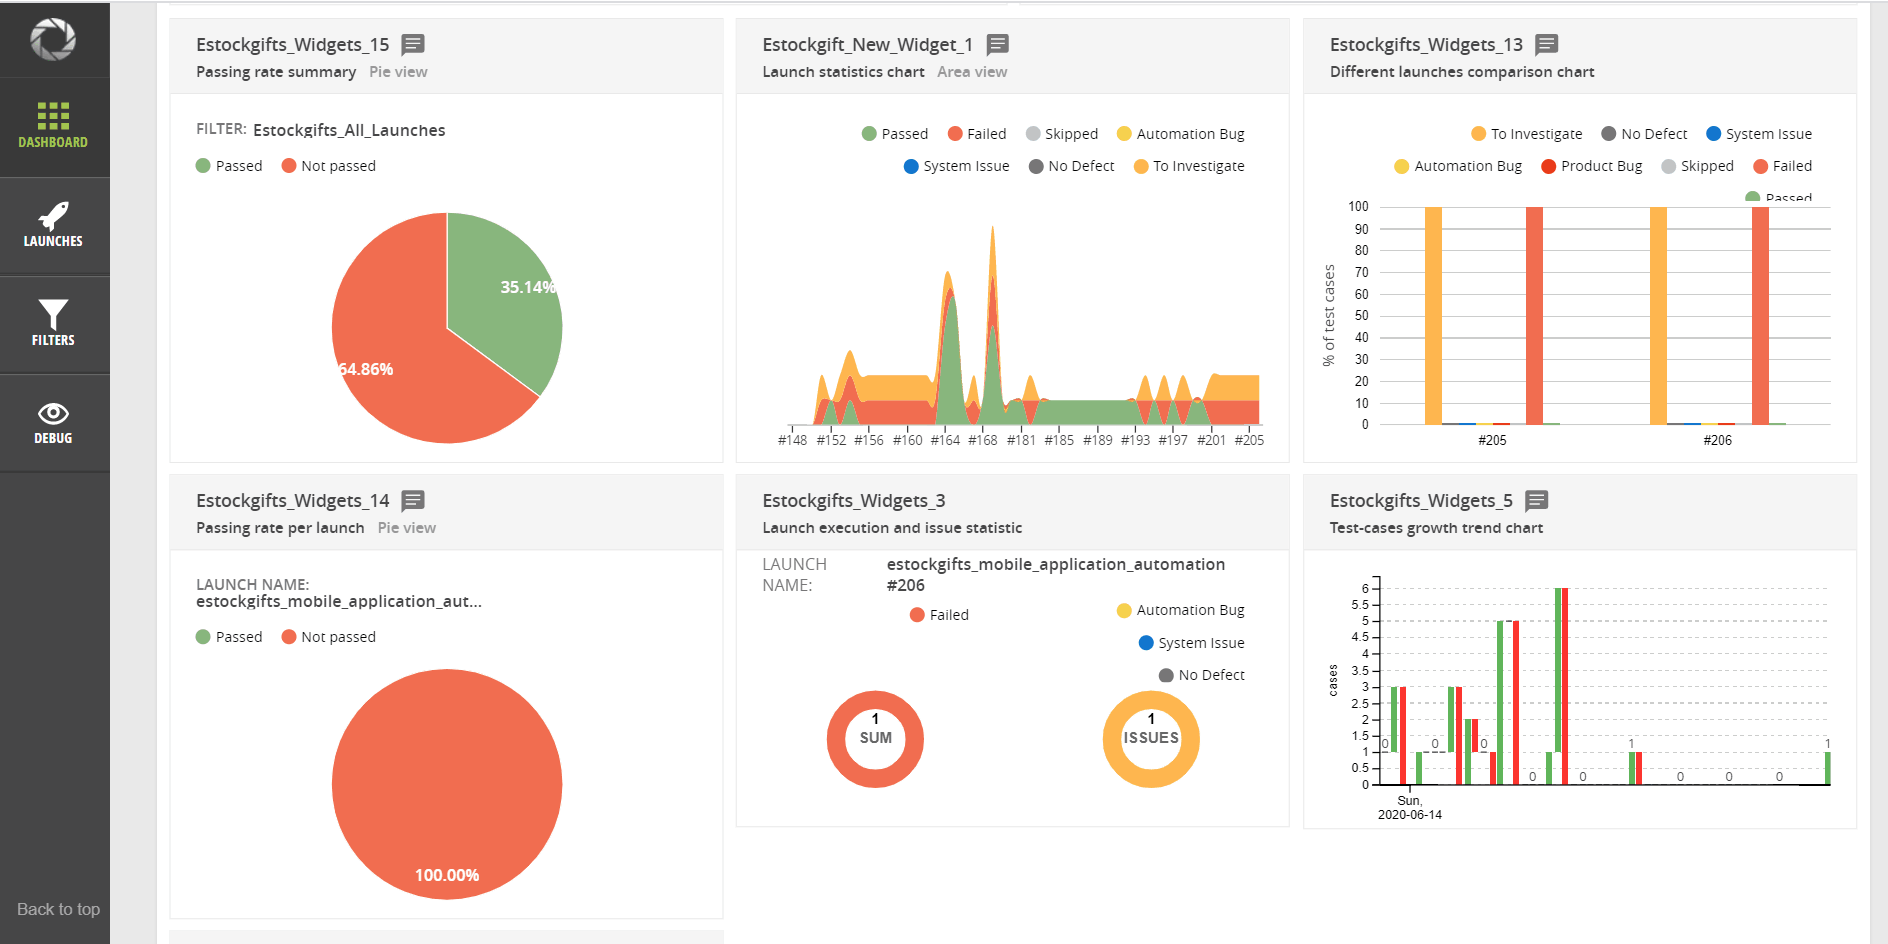
We can achive realtime results and logs reports screenshots etc in one place for each and every testcase .With clear information whenever a test execution is completed .
With the help of custom dashboard we can analyze and compare the results immediately,There is no need of ecternal integrations for graphical reprasentation of Stats.
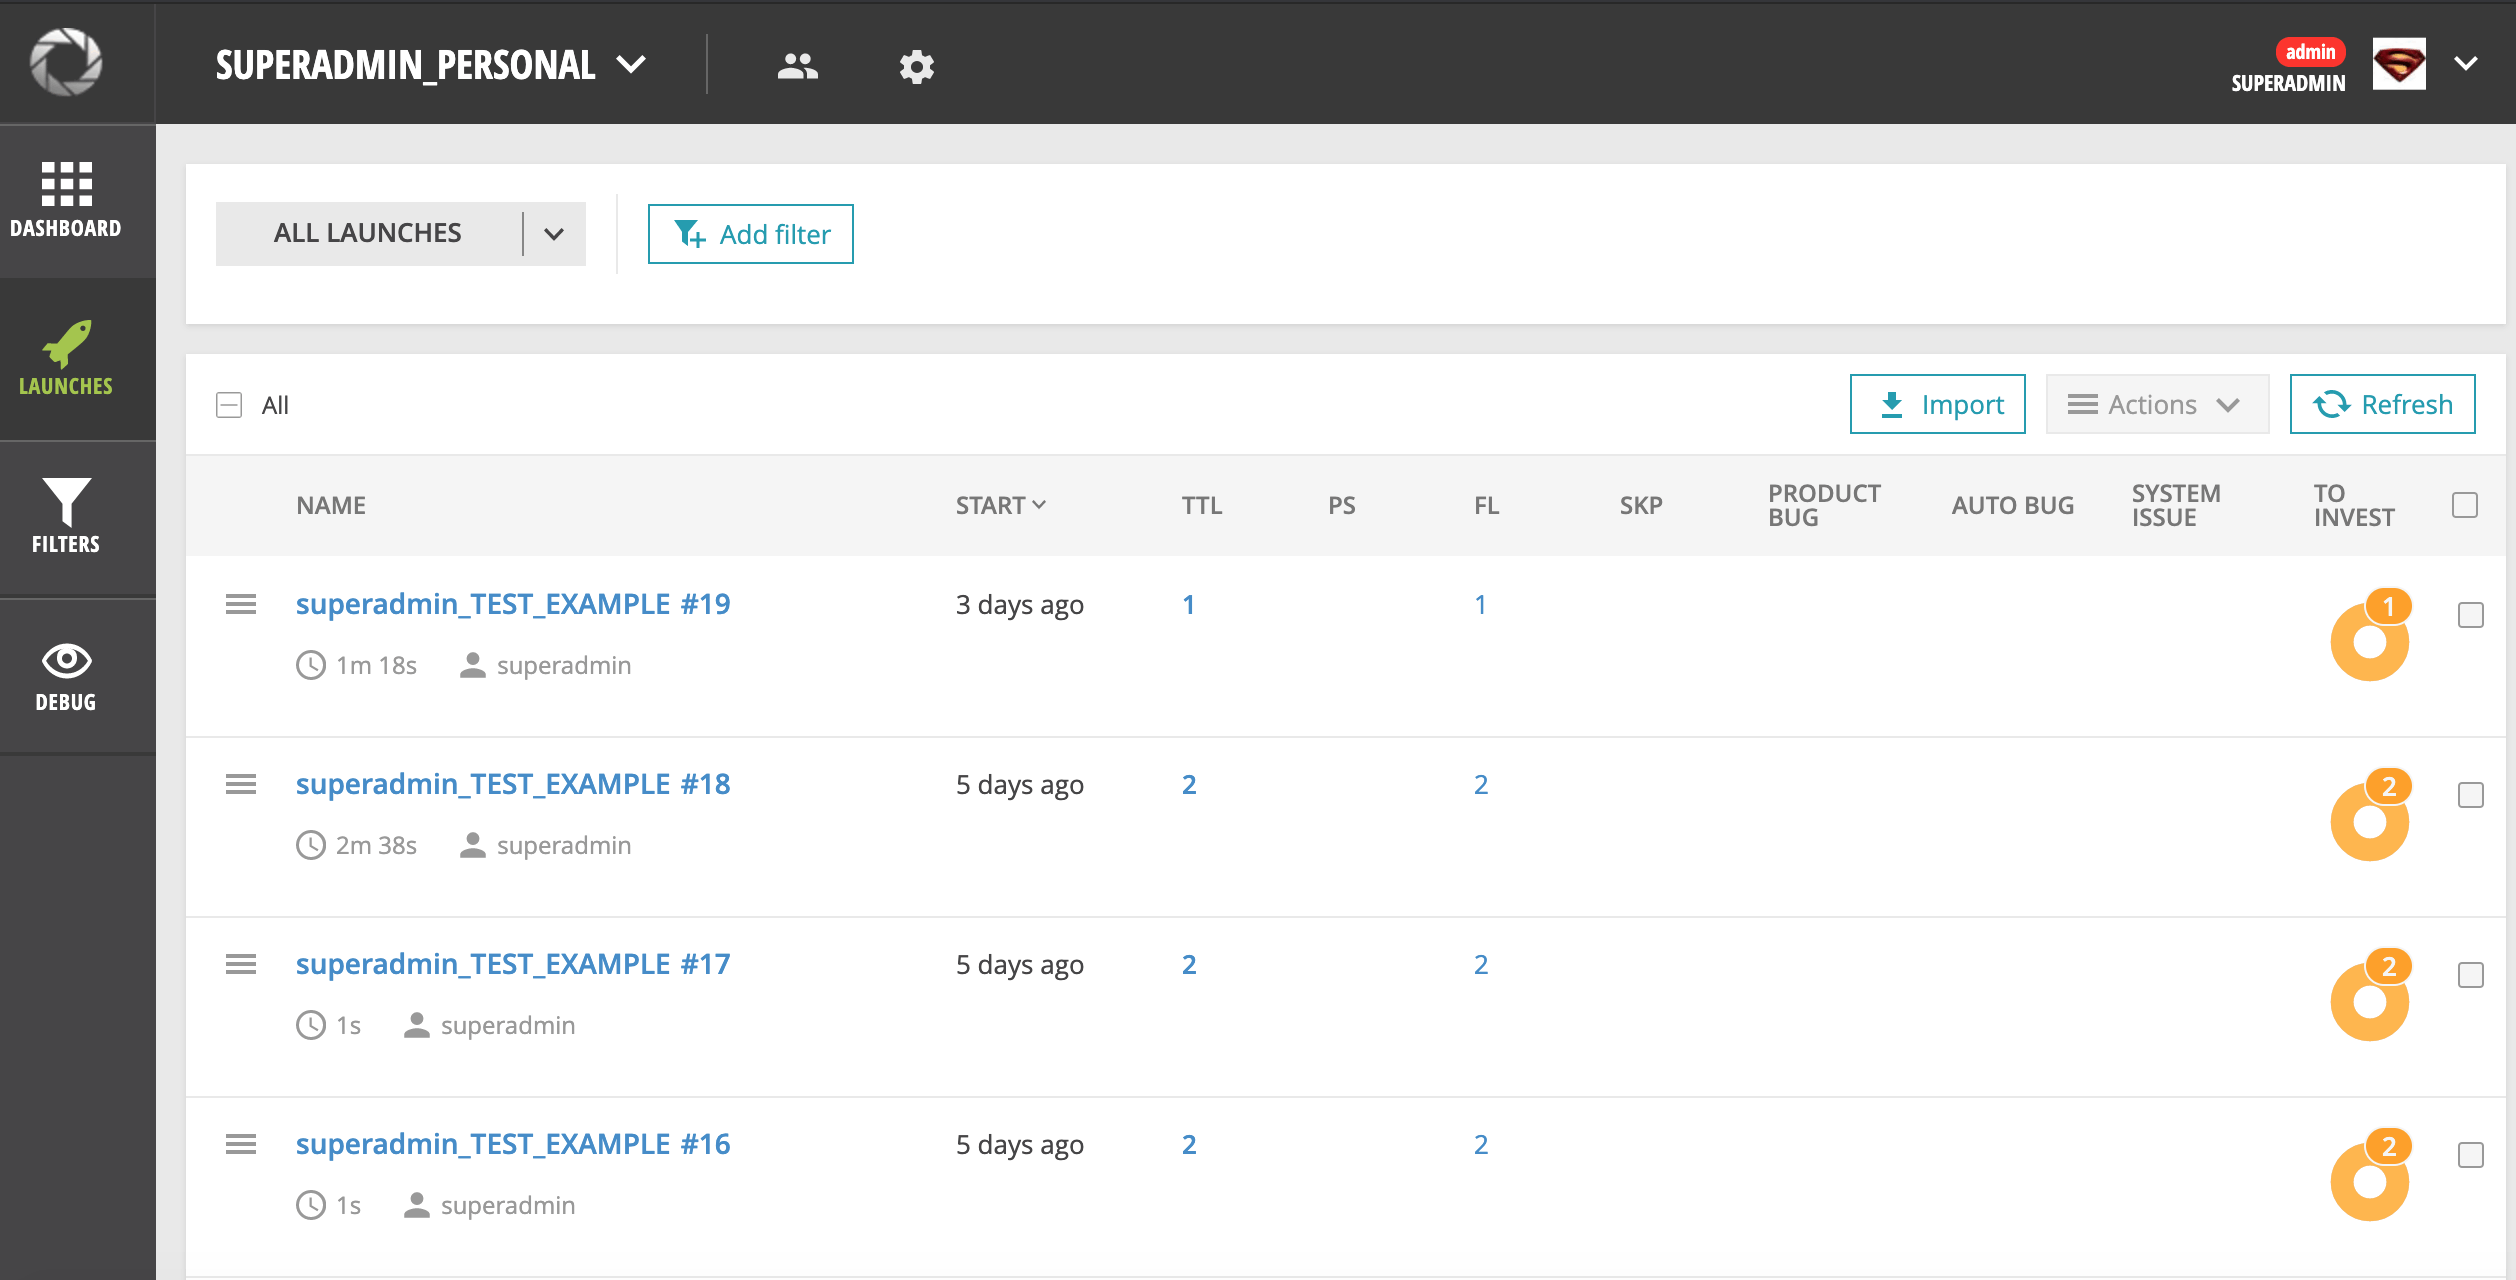
It Is Easily integrates with Test Frameworks, You can easily integrate portal with your test frameworks, as well as collect and browse all project tests in one place.
We can Classify test failures and quickly observe statistics around the launch as a whole and define a failure reasons of test case and set a Defect type for it: Product bug, Auto Bug, System Issue or custom type.
Realtime Test Result Analysis
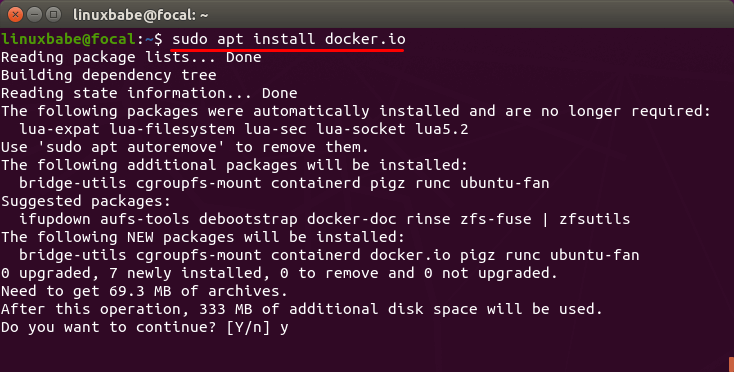
-> You must be using a 64 bits OS because Docker doesn’t support 32 bits.
-> Use below command to install Docker.
-> To ensure that we have the latest and greatest version, we will have to install it from Docker’s APT repository. Run the following command to add Docker repository to your Ubuntu system.
-> Next, run the following command to import the Docker GPG key to Ubuntu system so that APT can verify package integrity during installation.
-> And because this repository uses HTTPS connection, which I recommend all software repositories should be using, we also need to install apt-transport-https and ca-certificates package.
-> Finally, update the package index on your Ubuntu system and install docker-ce (Docker Community Edition).
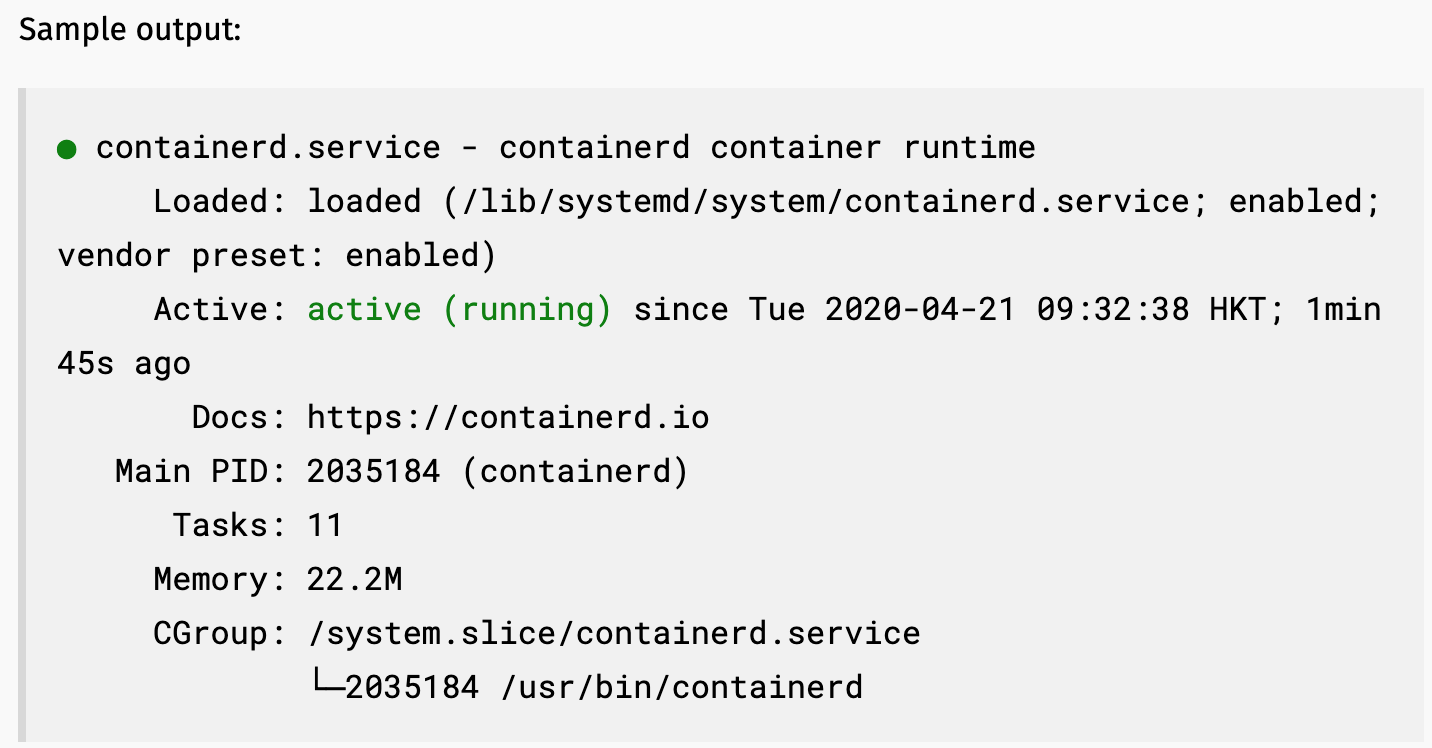
-> Once Docker is installed, the Docker daemon should be automatically started. You can check its status with:
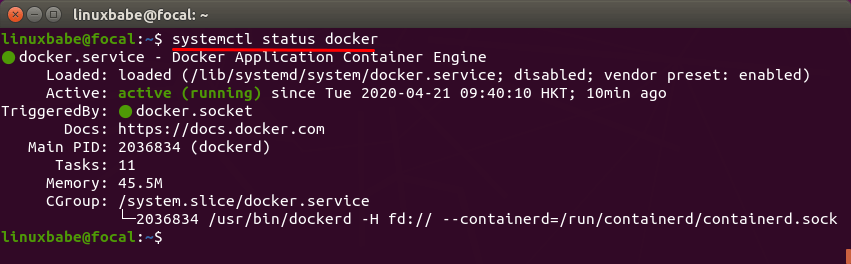
-> If it’s not running, then start the daemon with this command:
-> And enable autostart at boot time:
-> Check Docker version.

-> Run this command to download the current stable release of Docker Compose:
-> Apply executable permissions to the binary:
Note: If the command docker-compose fails after installation, check your path. You can also create a symbolic link to /usr/bin or any other directory in your path.
-> Test the installation.
-> Output :
-> Download Docker-Compose.yml using below command : -
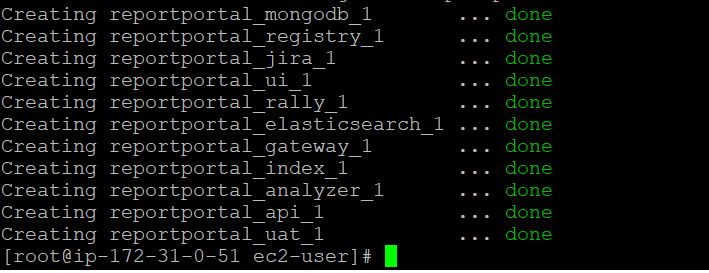
-> Deploy ReportPortal using docker-compose within the same folder
-> Deploy ReportPortal using docker-compose within the same folder
To start ReportPortal in daemon mode, add '-d' argument:
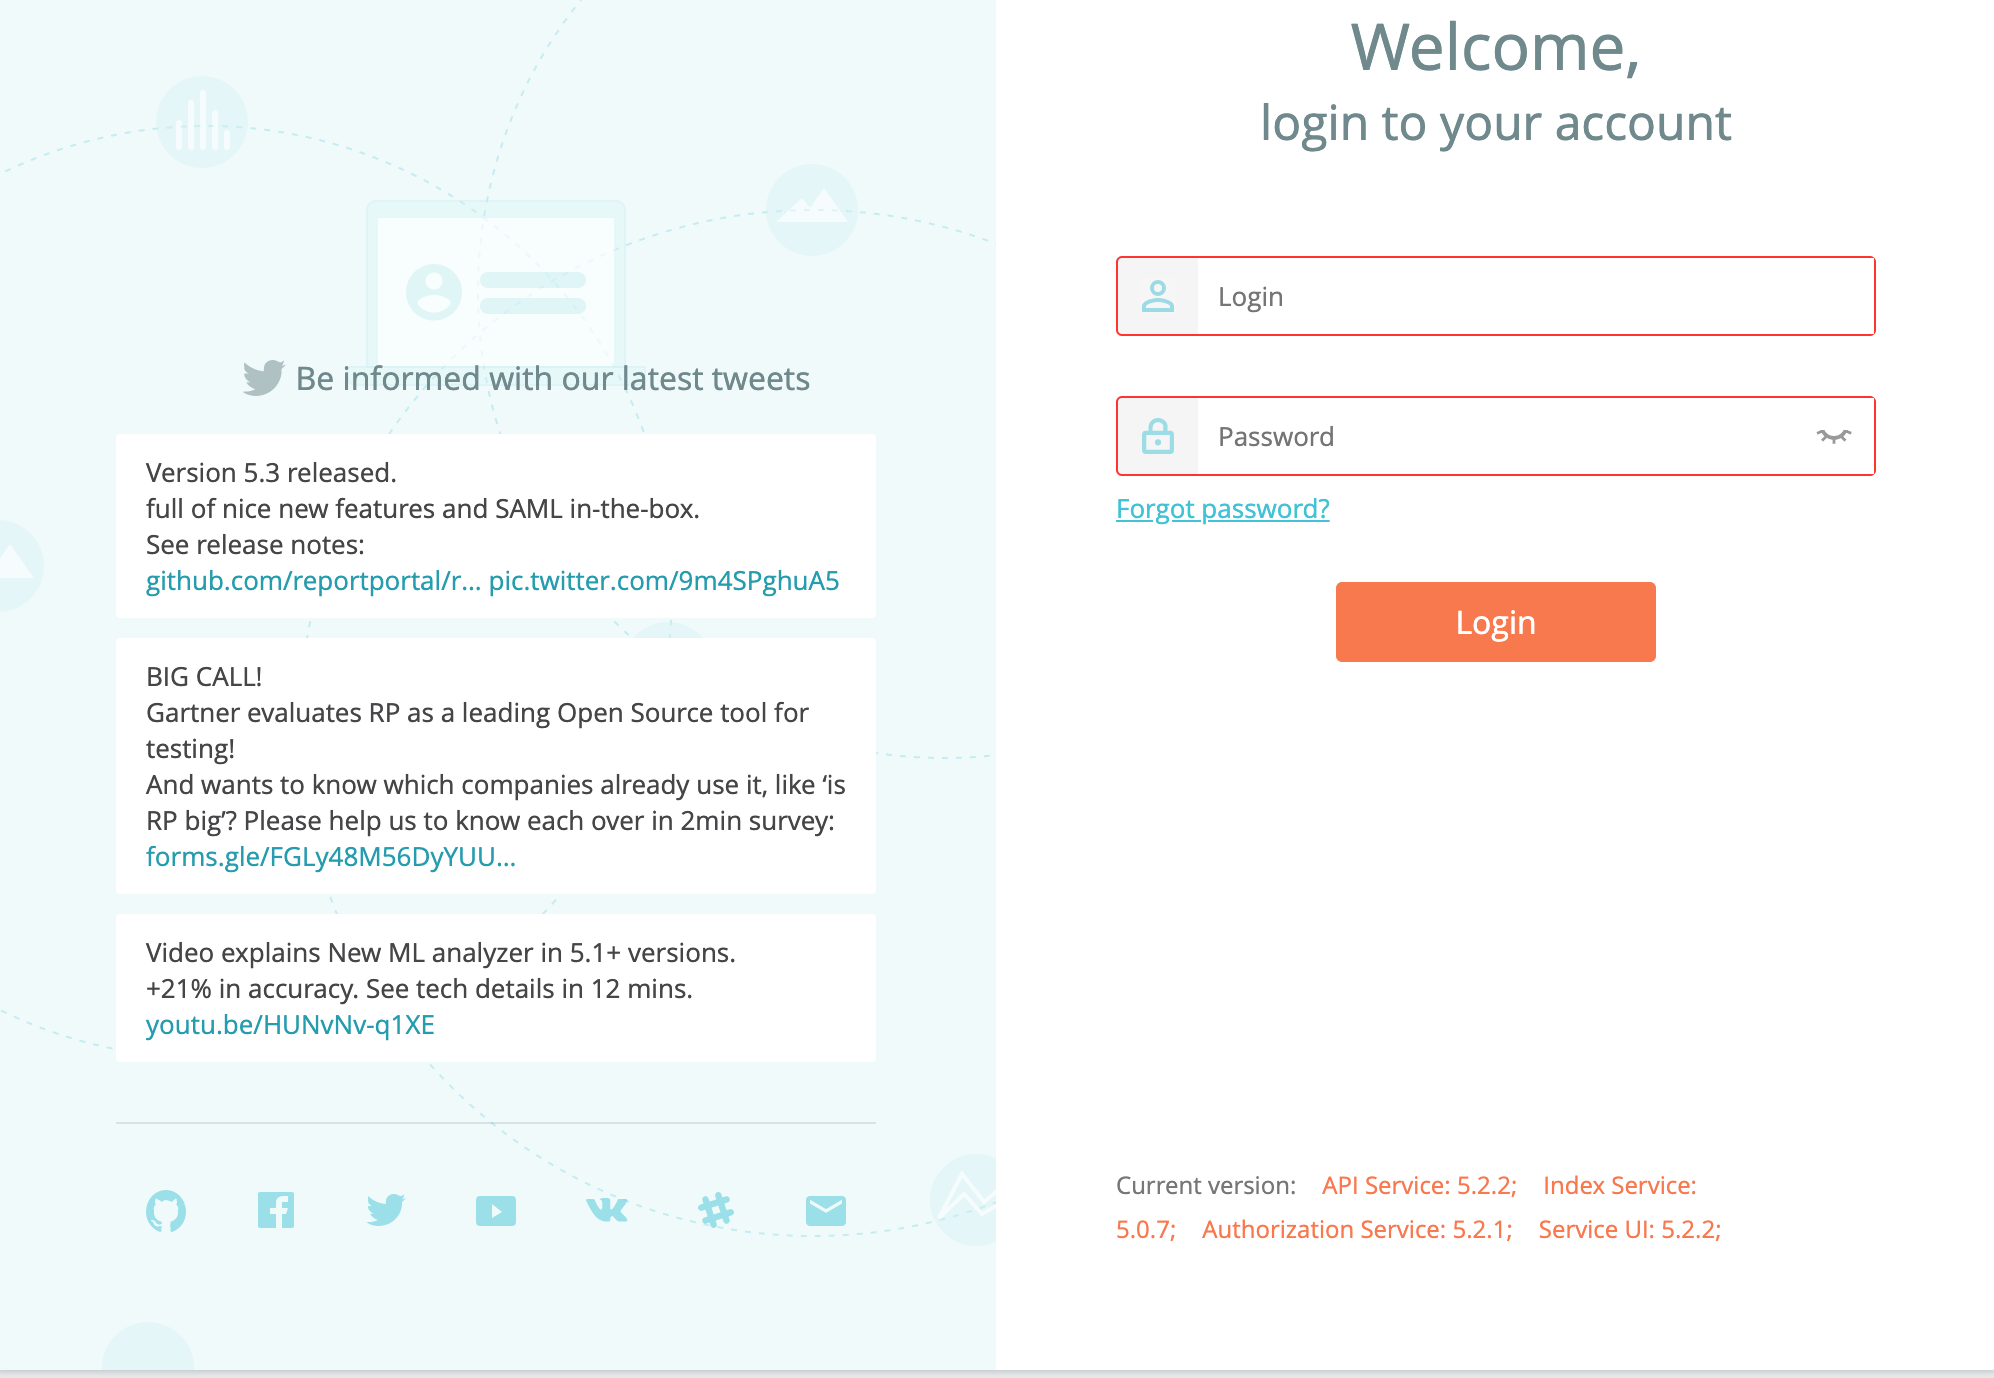
-> Open in your browser IP address of deployed environment at port 8080
Download Docker from https://www.docker.com/get-started

Create a Directory with the name Reportportal by using below Terminal
Navigate to that Directory path by using below command
Download the latest ReportPortal Docker compose file from here. You can make it by run the below command:
Run the Below command to The vm.max_map_count setting must be set within the xhyve virtual machine:
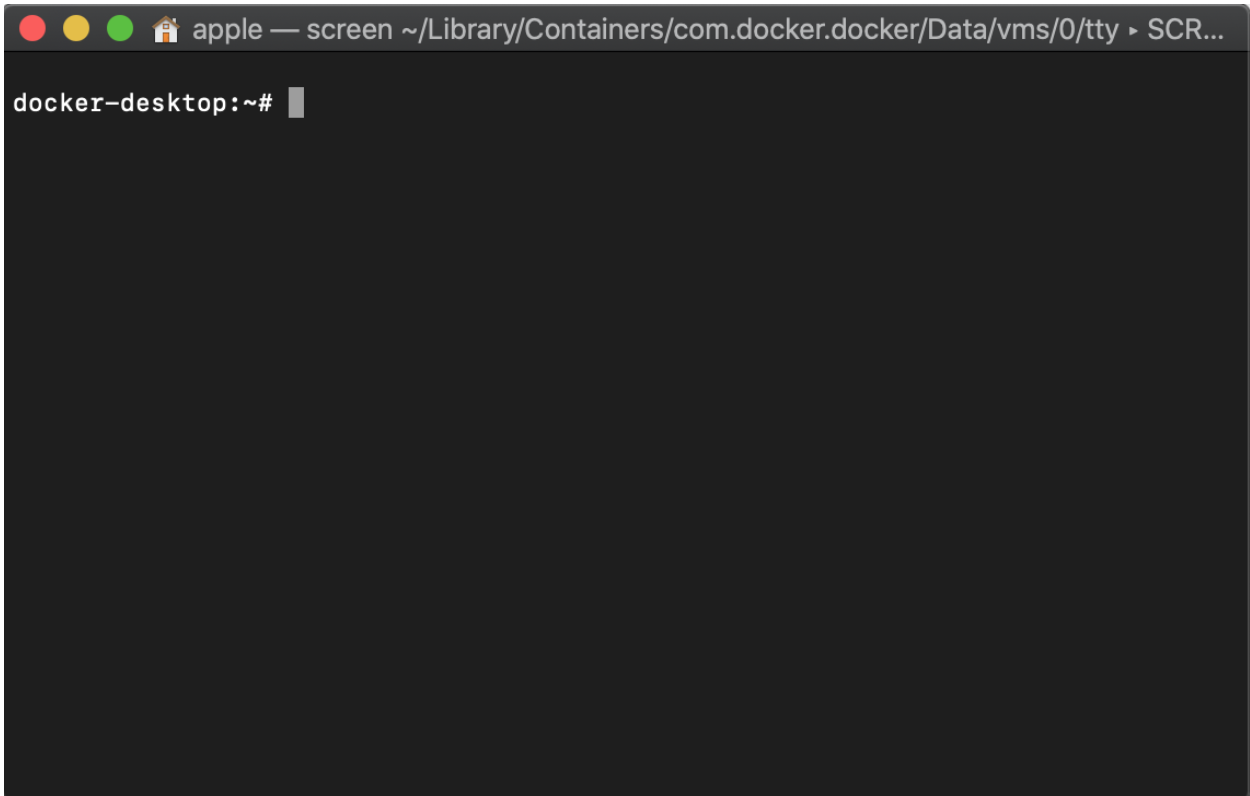
Run below command To set elasticsearch count
Give right permissions to ElasticSearch data folder using the following commands:
Start the application using the following command:
ReportPortal address:
Use the following login\pass to access:
-> AWS account.
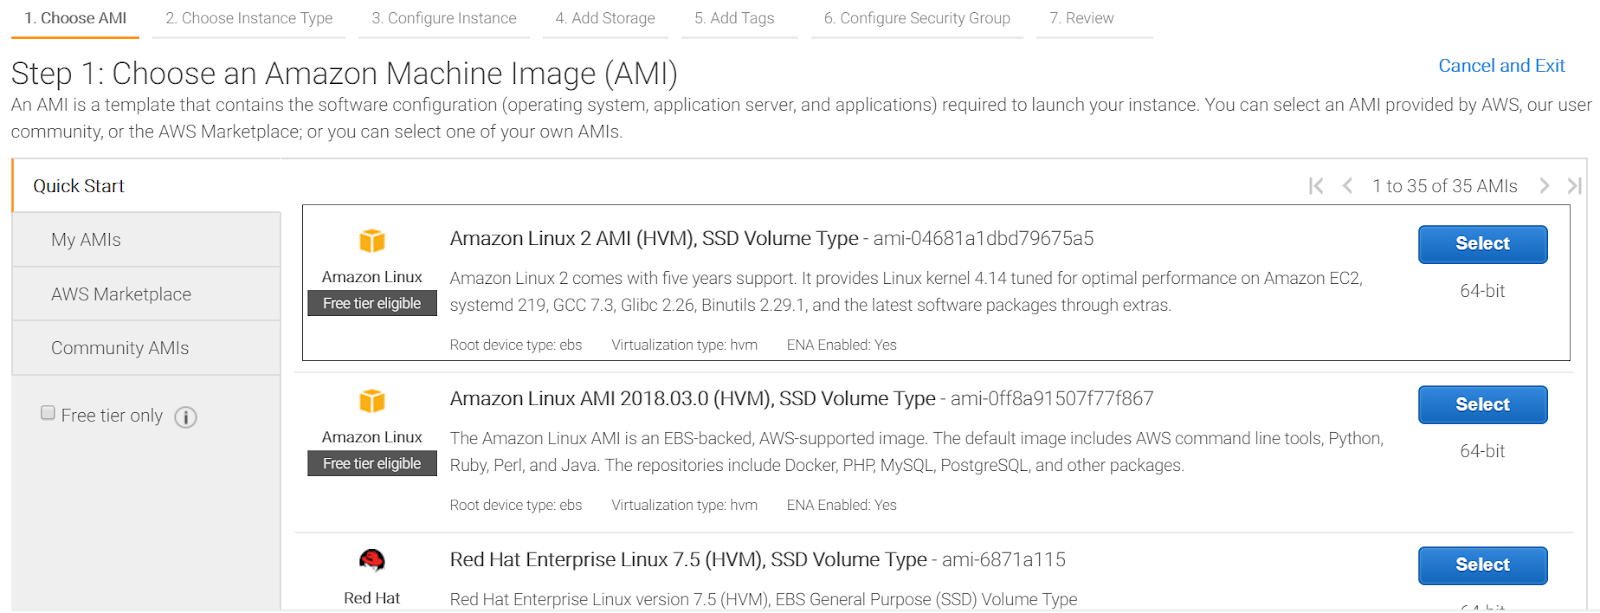
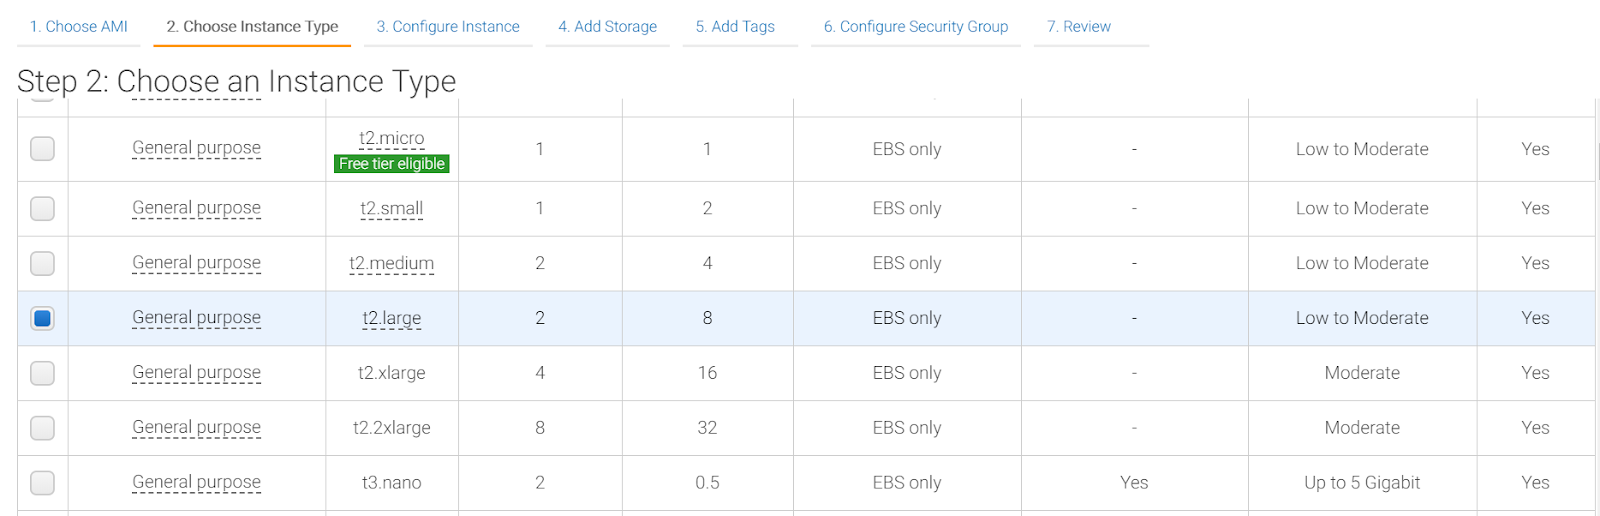
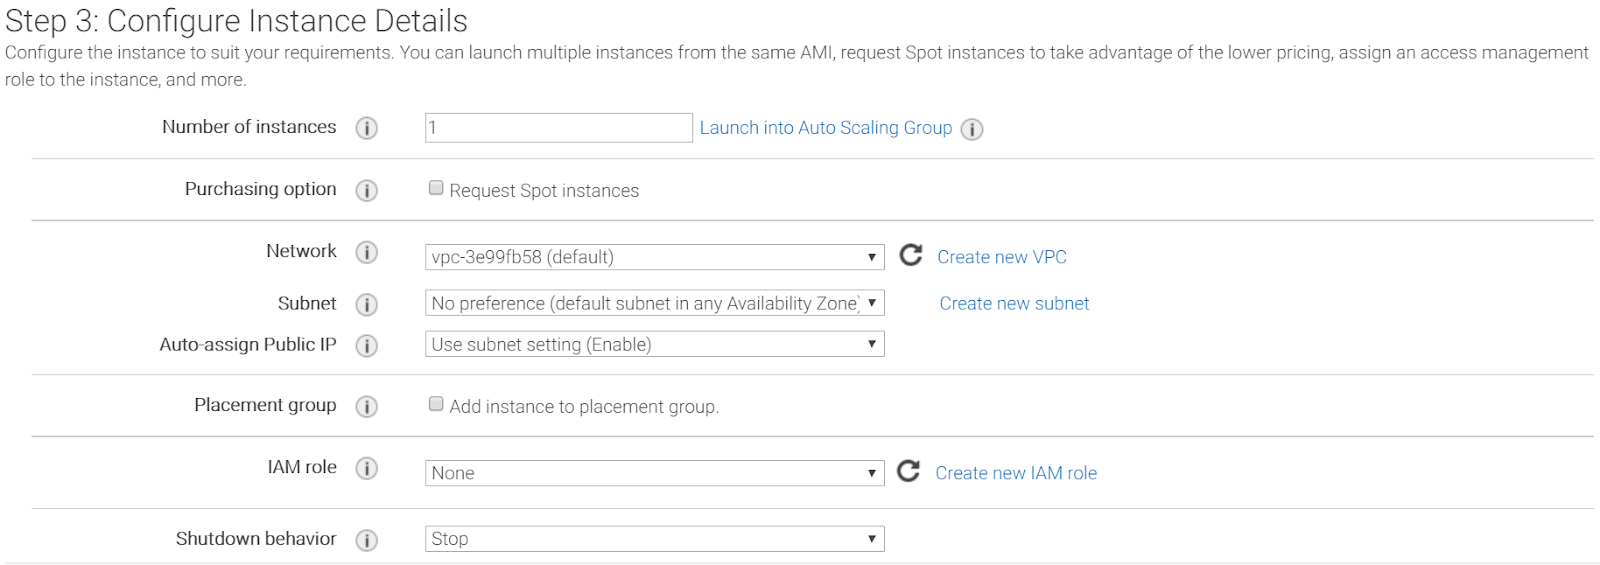
-> Click "Review and Launch". Ignore warnings and click "Launch". Choose to create new Key pair.
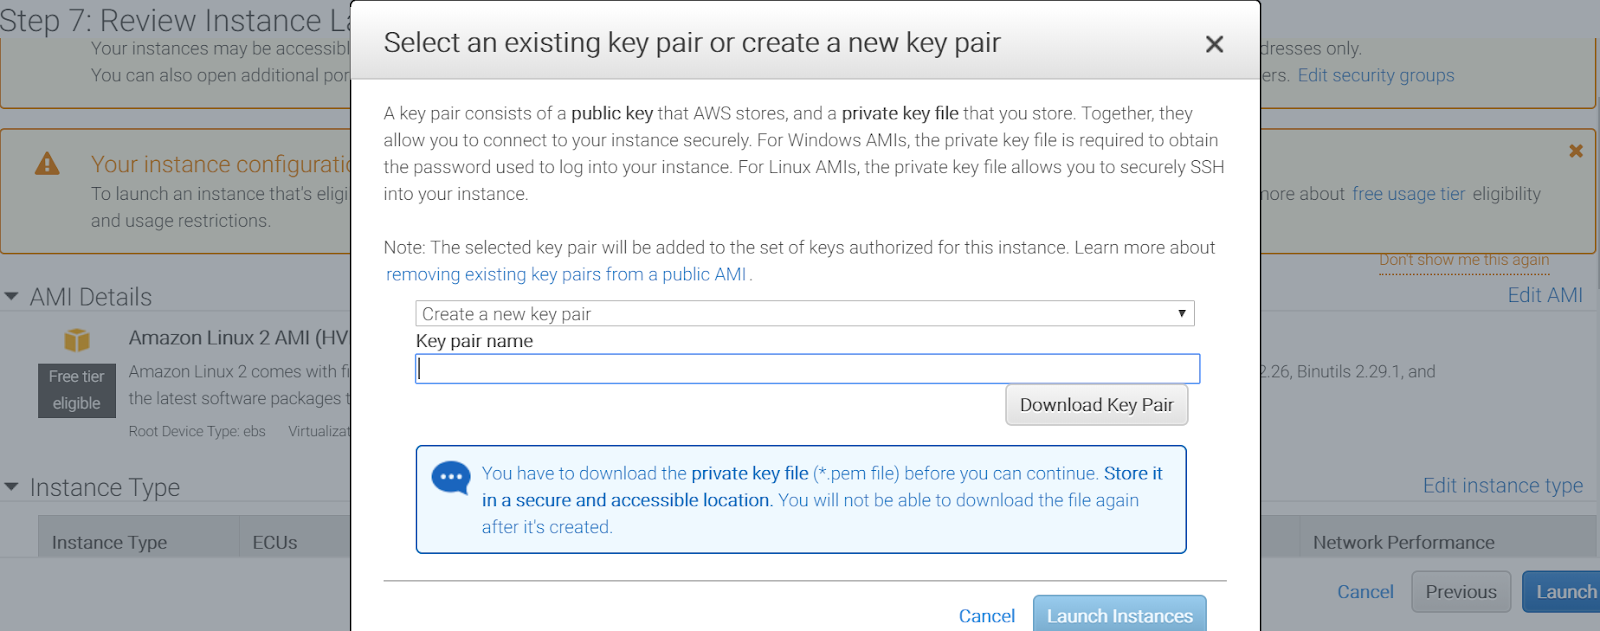
-> Download the key pair (.pem) in local. Instance will launch in few minutes.
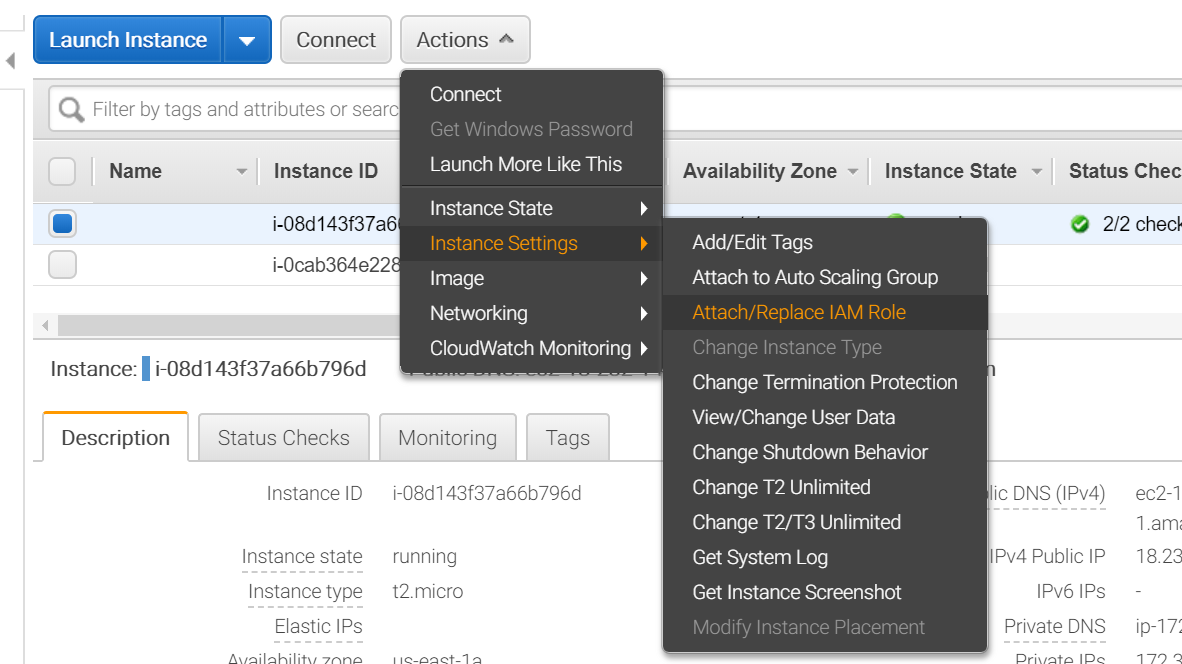
-> Close the ec2 machine.
Download the docker-compose.yml file for Report Portal.
memlock:
soft: -1
hard: -1
nofile:
soft: 65536
hard: 65536
-> aws s3 cp s3:// <my_bucket >/docker-compose.yml docker-compose.yml
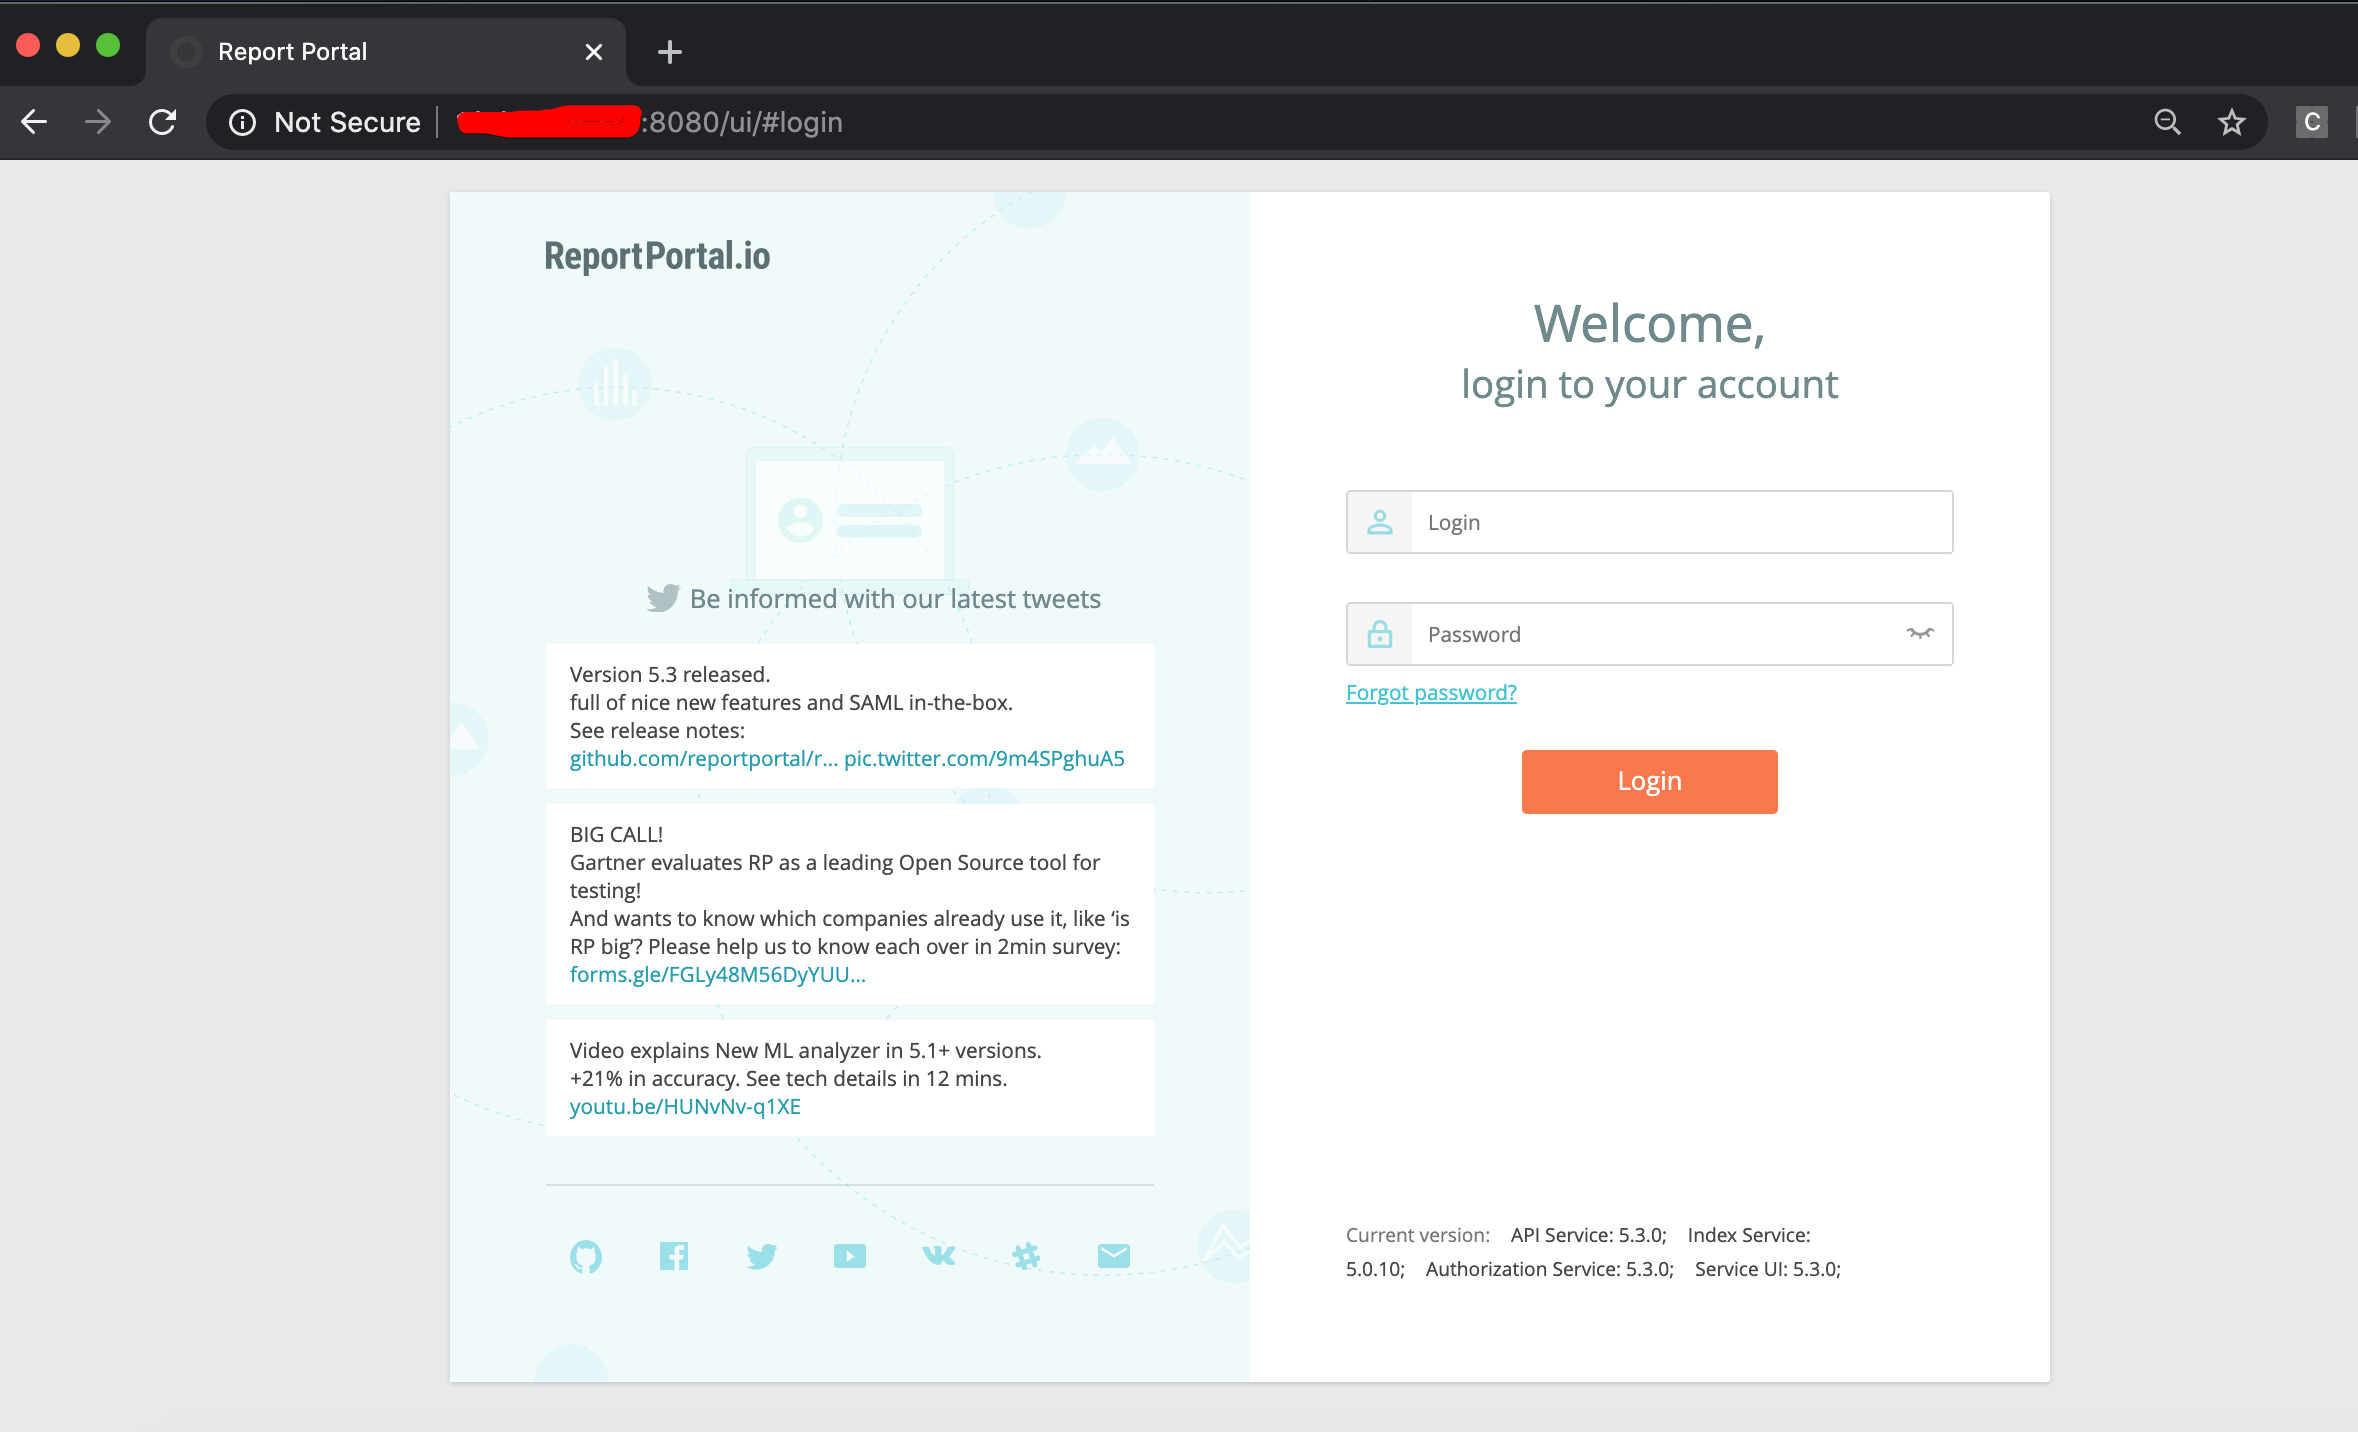
Use the following login\pass to access: